
Product
Best Cycling Camera Strap: How to Choose (2026 Guide)
Aug
If you ride with a proper camera, a mirrorless body or a DSLR, not just a phone or an action cam, you already know the problem. A normal shoulder strap lets the camera swing forward into the handlebars, slide under your arm, and bounce on every root and gravel patch. It is annoying on a road ride and genuinely risky on a loose descent.
This guide explains what actually matters in a cycling camera strap, how the main options compare, and where our own strap fits in. We make one, so we have a stake in this. We have tried to keep the guide useful whether or not you end up buying from us.
Short answer: The best cycling camera strap is a 3-point strap, a shoulder strap plus a cross-strap that anchors the camera against your back so it can’t swing into the handlebars. Look for a quick, one-handed release (a magnetic buckle is the most convenient), a way to attach to your camera’s existing lugs, and adjustment for left- or right-side carry. Our own strap, the Rille strap, uses a 3-point layout with a FIDLOCK magnetic buckle; other well-regarded options include the PS Bagworks Rider Strap, Wit Slingers, and Road Runner Bags.
Why a normal camera strap doesn’t work on a bike
On foot, a single shoulder or neck strap is fine. On a bike, your torso is tipped forward and you’re moving, so a one-point strap has nothing holding the camera in place. Two things go wrong:
- It swings forward. In a riding position the camera flops down toward the bars and can clunk against them. Not what you want with a lens hanging off the front.
- It bounces. Over gravel, cobbles or rough trail, an unsecured camera swings and jolts. That’s uncomfortable, and repeated micro-shock isn’t kind to a camera either.
This is a well-known issue among cycling photographers, not a marketing angle. Forum threads and bikepacking guides describe the same thing: a standard “bandolier” strap lets the camera flop into the handlebars, so people look for something that holds it still.
What makes a good cycling camera strap? The 6 things that matter
Here’s what to look at before you buy. We’ve kept it to the criteria that make a real difference on the bike.
| Criterion | Why it matters on the bike | What to look for |
|---|---|---|
| Stability (anti-bounce) | Stops the camera swinging into the bars and jolting on rough ground. The single biggest reason a cycling-specific strap exists. | A 3-point layout (shoulder strap + cross-strap) that pins the camera against your back. A plain 1- or 2-point strap won’t do this. |
| Quick access | You want the shot without stopping and without fighting a buckle mid-ride. | A one-handed release so you can swing the camera to the front and back again. A magnetic buckle (e.g. FIDLOCK) is the easiest to work by feel. |
| Compatibility | The strap has to attach to your camera without a fiddly adapter or a mount that blocks the tripod thread. | Attachment to the existing strap lugs / carry loop on the body. Check the strap can handle your body-plus-lens weight. |
| Weather protection | Rain, mud spray off the rear wheel, dust on gravel. Kit gets dirty out there. | Whether the maker offers a rain/dust cover or pouch as an add-on, so you’re not scrambling when the weather turns. |
| Comfort & fit | You’re wearing it for hours, and you may carry on the left or right depending on how you shoot. | Enough adjustment range, and the option to set it up for left- or right-side carry. |
| Build quality | It’s holding a camera you care about, in bad weather, for a long time. | Hard-wearing webbing and hardware, and a maker who’s clear about materials and where it’s made. |
1. Stability: the 3-point system
The defining feature. A 3-point strap adds a cross-strap to the normal shoulder strap, so the camera is held against your back instead of dangling. That single change removes most of the swing and bounce. Every strap built specifically for cycling, ours included, works on this principle.
2. Quick access: how fast can you get the shot?
Stability is only useful if you can still shoot without stopping. The good straps let you release one point, swing the camera around to the front, take the photo, and clip it back, ideally with one hand, without looking. Magnetic buckles make this easier because they self-align; you don’t have to thread anything.
3. Compatibility with your camera
Most cycling straps attach to the lugs or the little carry loop your camera already has. Worth a quick check: does it fit your body’s mounting points, and is the strap rated for your heaviest lens combination? Bigger DSLR-plus-zoom setups ask more of the hardware than a compact mirrorless body.
4. Weather protection
You will get caught out. Rain, or just mud thrown up off the back wheel on a wet gravel road, is normal. A strap alone doesn’t solve this, so it’s worth checking whether the maker offers a rain/dust cover you can add. That’s usually cheaper and lighter than carrying a separate dry bag for the camera.
5. Comfort and left/right carry
You’ll wear this for a whole ride, so adjustment range matters. Some riders also prefer the camera on a specific side, often the opposite side to how they shoot, or to keep it clear of a frame bag or hydration setup. A strap that can be set up for either side is more flexible.
6. Build quality and honesty about it
This is the least glamorous criterion and one of the most important. The strap holds a camera you care about, out in the weather, for years. Look for makers who tell you plainly what the strap is made of and where it’s built, rather than leaning on superlatives.
How the main options compare
The cycling camera strap market is small and mostly made up of independent makers. That’s a good thing, these are people who ride and shoot. A few names come up again and again:
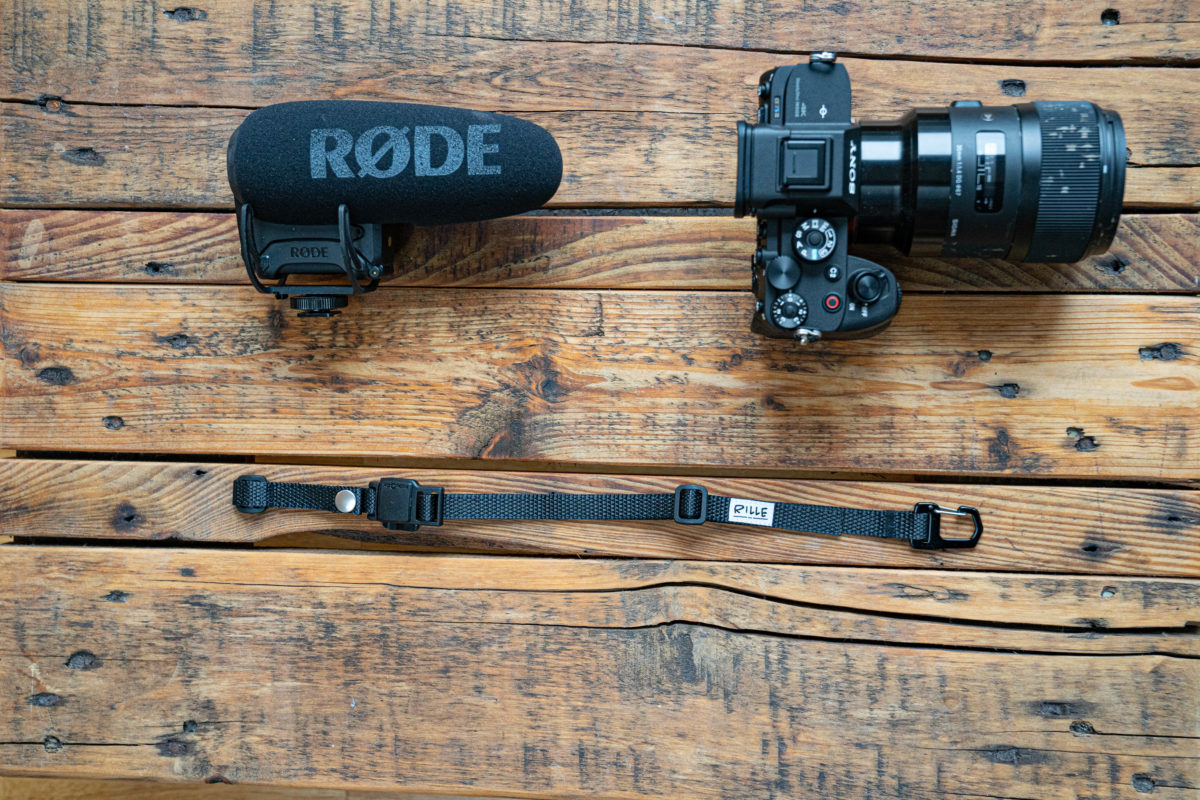
- rille strap (ours). 3-point fixation to stop swing and bounce, with a FIDLOCK magnetic buckle so you can release one point and swing the camera to the front one-handed. It hooks onto your camera’s existing carry loop with an aluminium hook, has an adjustable slider, and can be set up for left- or right-side carry (hook on the opposite side). Made in Germany from sailing-industry materials. 39,90 €. Optional add-ons cover weather and knocks (see below).
- PS Bagworks Rider Strap. A well-regarded 3-point strap designed with cyclists in mind, also using a magnetic quick-release so the camera slides to the front for a shot. Popular in the bikepacking community.
- Wit Slingers. Another maker with a cross-strap system aimed at riders who want to stop the camera bouncing.
- Road Runner Bags. Offers a camera strap positioned for cycling and hiking use.
- Etsy and small independent makers. A number of one-person shops make cycling camera straps. Quality varies, so lean on the criteria above.
We’re not going to tell you the others are bad, they aren’t, and several riders are very happy with them. Where we think the rille strap earns its place is the combination of the FIDLOCK magnetic release, the aluminium hook onto your existing carry loop, and the matching weather and protection add-ons, made in Germany. If a different strap fits your bike setup better, buy that one. The important thing is that it’s a real 3-point cycling strap, not a repurposed shoulder strap.
A simple mirrorless-on-the-bike setup
A strap is the core of it, but a few small things make carrying a real camera on gravel or a bikepacking trip much less stressful:
- The strap, 3-point, so the body sits still against your back.
- Weather cover, a rain/dust bag for when the sky opens or the rear wheel starts flinging mud. Our Weather Protection Bag is built for this; a generic dry bag works too.
- Knock protection, a wrap around the body for transport and rougher sections. Our Protection Wrap does this.
- Lens edge protection, small guards like our Lens Saver help with the odd knock.
- The obvious extras, spare battery, and a blower if you change lenses in dusty conditions (mirrorless sensors are exposed during a lens swap).
If you’d rather buy the core in one go, we bundle the strap with the Weather Protection Bag as the rille ride kit (79,90 €).
Is a strap the right choice, or should you use a bag?
Honest answer: it depends on how you shoot.
- A strap wins when you want the camera ready, quick to grab, quick to put back, so you actually take the photos instead of leaving the camera packed away. This is why most cycling photographers who shoot a lot on the move end up with a 3-point strap.
- A handlebar or hip bag wins when protection matters more than speed, very rough terrain, long transfers, or when you’re not planning to shoot much and just want the camera safe.
Plenty of riders use both: strap for the shooting days, bag for the rough transfers. There’s no single right answer, and we’d rather you pick what fits your riding than oversell the strap.
Frequently asked questions
What is the best type of camera strap for cycling?
A 3-point strap. It adds a cross-strap to the normal shoulder strap so the camera is held against your back and can’t swing into the handlebars or bounce on rough ground. A standard one-point shoulder or neck strap isn’t stable enough on a bike.
How do I carry a camera while cycling without a backpack?
The two common no-backpack options are a 3-point camera strap (camera held against your back, quick to grab) or a handlebar/hip bag (better protection, slower access). A strap keeps the camera ready to shoot; a bag keeps it more protected on rough terrain.
Will a cycling camera strap stop my camera hitting the handlebars?
Yes, that’s the main reason 3-point straps exist. The cross-strap holds the camera against your back so it doesn’t flop forward into the bars when you’re in a riding position. A plain shoulder strap will not stop this.
Can I use a cycling camera strap with a mirrorless camera or a DSLR?
Yes. These straps are made for real cameras. Check that the strap attaches to your camera’s existing lugs or carry loop and is rated for your heaviest body-and-lens combination. The rille strap uses an aluminium hook on the existing carry loop.
How do I get the shot quickly without stopping?
Look for a one-handed release. On the rille strap you release the FIDLOCK magnetic buckle, swing the camera to the front, shoot, and clip it back, without stopping or looking. A magnetic buckle is easier to work by feel than a clip.
Can I wear it on the left or right side?
On the rille strap, yes. You set it up for left- or right-side carry by putting the hook on the opposite side. Many riders choose the side that keeps the camera clear of their frame bag or hydration setup.
What about rain and mud?
A strap alone won’t keep water out. Add a rain/dust cover, the rille Weather Protection Bag or a generic dry bag, so you’re covered when the weather turns or the rear wheel throws up mud on gravel.
How much does a good cycling camera strap cost?
Straps from the small specialist makers generally sit in the range of a mid-priced camera accessory. The rille strap is 39,90 €; the Rille ride kit (strap plus Weather Protection Bag) is 79,90 €.
